Two‑color and insert molding solves a common challenge for many structural components, exterior parts, home appliance housings, and sealed plastic products: different areas of the same finished product require different plastic materials.
For example, one part may need to be hard, wear‑resistant, and heat‑resistant, while another part needs to be soft, slip‑resistant, airtight, and shock‑resistant; some areas may require high‑strength flame‑retardant material, while others may require low‑cost, general‑purpose material.
When faced with this situation, many people initially consider manufacturing two separate parts and then bonding them together, ultrasonically welding them, or assembling them with snap‑fit connectors. However, this approach is costly, prone to significant dimensional deviations, results in unsightly seams, fails to meet waterproof and dustproof standards, and leads to a low yield rate.
In fact, the truly reliable solution with lower overall costs is to produce the product directly through two‑color and insert molding. Below are the two mainstream approaches for creating injection molds for this type of product.
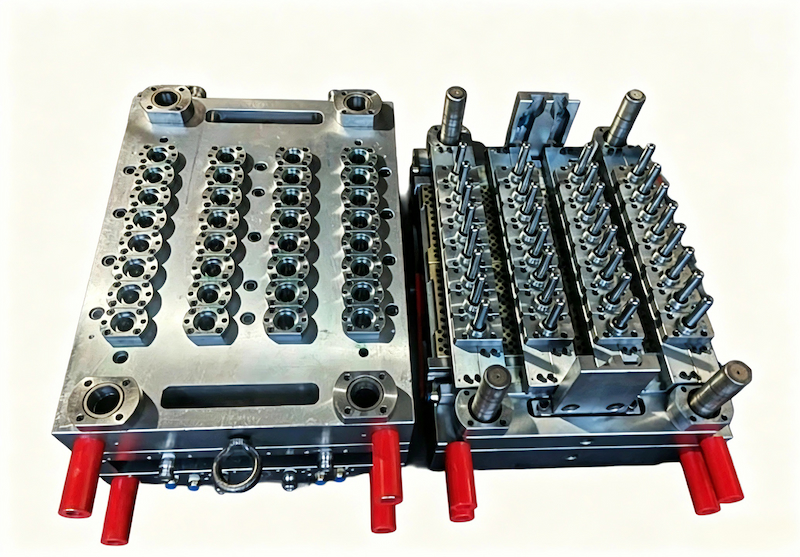
Two‑Color and Insert Molding Solutions for a Single Product with Different Materials
Solution 1: Two‑Color/Two‑Material Injection Mold
The production principle of a two‑color mold is as follows: the mold remains stationary while the moving mold rotates and repositions. The first shot injects the first type of hard material; after it cools and sets, the mold opens, the turret rotates and repositions, and the mold moves to the second shot station, where the second type of soft material or functional material is directly overmolded onto the first‑shot product in a single step, producing a complete finished product.
This variant within two‑color and insert molding offers the following advantages:
First, it is molded as a single piece—no adhesives, no welding, and no snap‑fits—resulting in far superior sealing performance and structural strength compared to assembled parts;
Second, the appearance is seamless, and the yield rate is stable;
Third, no manual assembly is required afterward, leading to a lower overall production cost per unit;
Finally, it offers high dimensional accuracy, stable fit clearances, and good consistency across batches.
However, there are also several disadvantages:
First, the mold cost is higher, significantly more expensive than a standard single‑cavity mold;
Second, it must be used with a two‑color injection molding machine; standard single‑shot machines cannot be used;
Third, the initial design cycle is slightly longer, as the adhesion compatibility and shrinkage rates of the two materials must be verified simultaneously.
Suitable Applications: Products requiring tight integration of two materials, a seamless, monolithic structure, high aesthetic standards, high waterproofing requirements, large batch sizes, and long‑term mass production.
Option 2: Insert Molding
This approach requires two sets of molds. First, a standard mold is used to produce the first plastic part separately. The finished hard‑material part is then treated as an “insert” and placed—either manually or by a robotic arm—into the cavity of the second mold, where the second material is injected to encapsulate and bond to it.
As a practical branch of two‑color and insert molding, this approach has three advantages:
First, it does not require a two‑color injection molding machine; a standard injection molding machine is sufficient, lowering the equipment barrier for manufacturers;
Second, the mold structure is simple, resulting in lower mold tooling costs and reduced upfront investment;
Third, material combinations are more flexible; many materials that are difficult to achieve compatibility in two‑color molds can be successfully processed using insert molding.
As for the drawbacks, the main ones are as follows:
First, an additional step for inserting the insert is required, increasing labor or robotic arm costs and slightly slowing the cycle time;
Second, if insert positioning is inaccurate, it can lead to misalignment, flash, or poor overmolding adhesion, making the process reliant on the mold’s positioning mechanism;
Third, the seal integrity and structural strength of the molded part are slightly lower than those achieved with a true two‑color, one‑piece mold.
Suitable applications: Products with significant material differences, where two‑color machines are difficult to configure, with medium production volumes, complex structures, and where overmolding is required only in specific areas.
Therefore, for products with high aesthetic requirements, the need for waterproof sealing, high‑volume long‑term production, and good adhesion between the two materials, a two‑color rotary multi‑material mold is the more suitable choice.
However, if you only have standard injection molding machines, have a limited budget, face material incompatibility issues, or have small, localized areas requiring different materials, an insert molding process is the better solution.
Regardless of whether you choose a two‑color mold or an insert molding process, several key factors must be confirmed before tooling is developed.
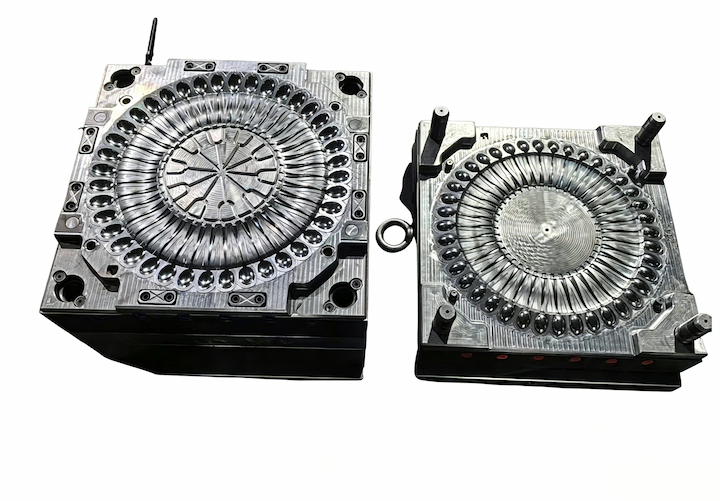
Four Key Considerations Before Tooling for Two‑Color and Insert Molding
First, verify whether the two materials can bond together.
Not all plastics are compatible for overmolding. The compatibility of hard and soft materials must be verified in advance; if the bond is weak, peeling, cracking, or delamination will occur later, resulting in total scrap. Before mold design, request a compatibility chart from the material supplier.
Second, the difference in shrinkage rates must be factored into the mold cavity design in advance.
Different materials have different shrinkage rates. If the same shrinkage allowance is applied to both, the finished product will inevitably warp, twist, or exceed dimensional tolerances. During the mold design phase, shrinkage allowances must be applied independently to each area.
Third, parting lines, sealant locations, and overmolding boundaries must be clearly defined.
Where the hard material ends and the soft material begins, how the boundaries are defined, how the sealant is applied, and how venting is managed—all of these must be finalized during the 3D modeling stage. If boundaries are unclear, it will inevitably lead to flash, material overflow, and difficulty in polishing during later stages.
Finally, plan the gate locations and injection sequence in advance.
Reference: For more detailed plastic material property parameters, please check professional polymer material database
If you want to know more knowledge of molding,you can see the Complete Injection Molding Process | PROVEN 5 Key Stages for Custom Plastic Parts