I. Project Initiation Phase
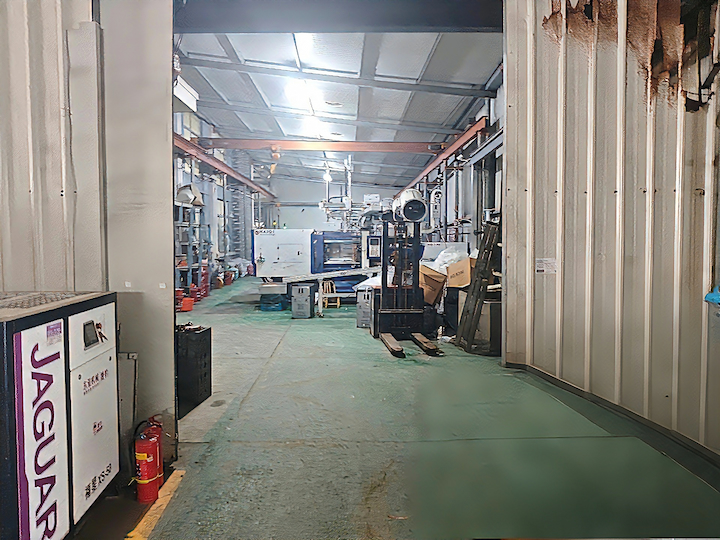
Injection mold development is the critical first step to turn your product design into mass-produced plastic parts. As an experienced plastic injection mold factory from Huangyan, China, we handle the whole process from mold design, machining, testing to final production.
The client clearly communicates product requirements to the mold manufacturer, including information on shape, dimensional accuracy, materials, production volume, and surface treatment, while simultaneously providing a 3D model or physical sample. The manufacturer promptly assesses the complexity of the mold structure, estimates the timeline, and calculates costs, then provides a quote and schedule. Once both parties reach an agreement, they sign a contract specifying rights, responsibilities, and quality standards. The client pays an advance payment of 30%–50% of the total contract price, and the project officially commences.
Every detail confirmed in this stage lays a solid foundation for smooth injection mold development afterwards
Professional Injection Mold Development for Custom Plastic Products
II. Mold Design Phase
(1) Product Characteristics Analysis
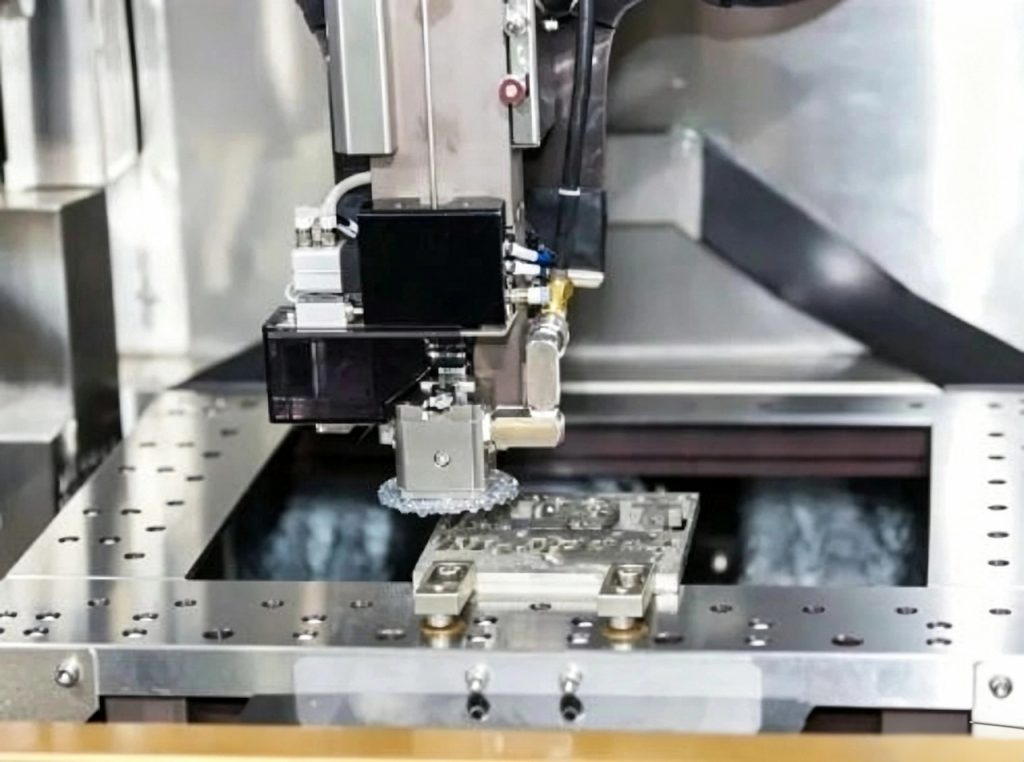
The design team uses professional software such as Moldflow to conduct an in-depth analysis of the product’s 3D model, determine parting lines, and account for plastic shrinkage characteristics. They minimize the risk of deformation by optimizing the structure (e.g., adding ribs).
(2) Mold Structure Planning
Based on product requirements, the team designs the overall mold architecture, specifies the number of cavities, plans core and cavity inserts, selects suitable materials, and determines heat treatment and machining processes. They construct the gating and cooling systems, draw 2D engineering drawings, and annotate key parameters such as dimensional tolerances (±0.02 mm) and surface roughness (cavity Ra 0.8 μm).
(3) Design Proposal Review
We organize experts in design, machining, assembly, and other related fields to evaluate the smoothness of mold opening and closing, component interference, cooling efficiency, and structural strength. Based on their feedback, we optimize the design to ensure it is both feasible and cost-effective.Scientific layout in this phase greatly lowers risks in the whole injection mold development cycle.
III. Raw Material Procurement
(1) Scientific Material Selection
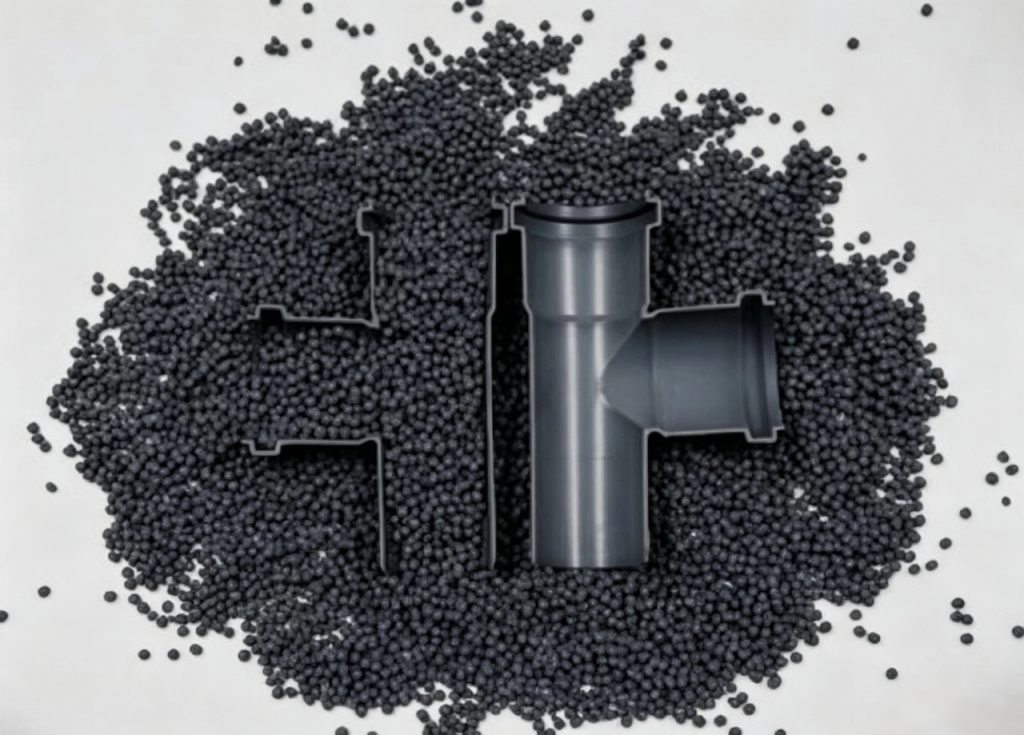
Based on mold requirements, select suitable mold steels (P20, H13, Cr12MoV, etc.) and standard components (ejector pins, guide pins and bushings, etc.). P20 is suitable for general-purpose molds, H13 is suitable for high-temperature applications, and Cr12MoV is used for molds with complex parts.
(2) Selection of Suppliers
Screen suppliers with good reputations and consistent quality, and sign contracts specifying material specifications, quantities, prices, and delivery dates to ensure on-time, high-quality supply.
(3) Incoming Material Inspection
Upon arrival of raw materials, inspect hardness, chemical composition, and dimensional accuracy. Promptly return or replace non-conforming materials to avoid impacting schedule and quality.Qualified raw materials are the basic guarantee for high‑quality injection mold development.
IV. Mold Machining Process
(1) Precision Machining of Parts
Based on the design drawings, parts are machined using equipment such as milling, turning, and grinding machines, with strict control over critical dimensional tolerances (±0.01 mm) and surface roughness (Ra 0.4 μm).
(2) Heat Treatment for Component Strengthening
Key components such as cavities and cores undergo heat treatments including quenching, tempering, and nitriding to enhance hardness, wear resistance, and corrosion resistance, thereby extending the mold’s service life.
(3) Optimized Surface Treatment
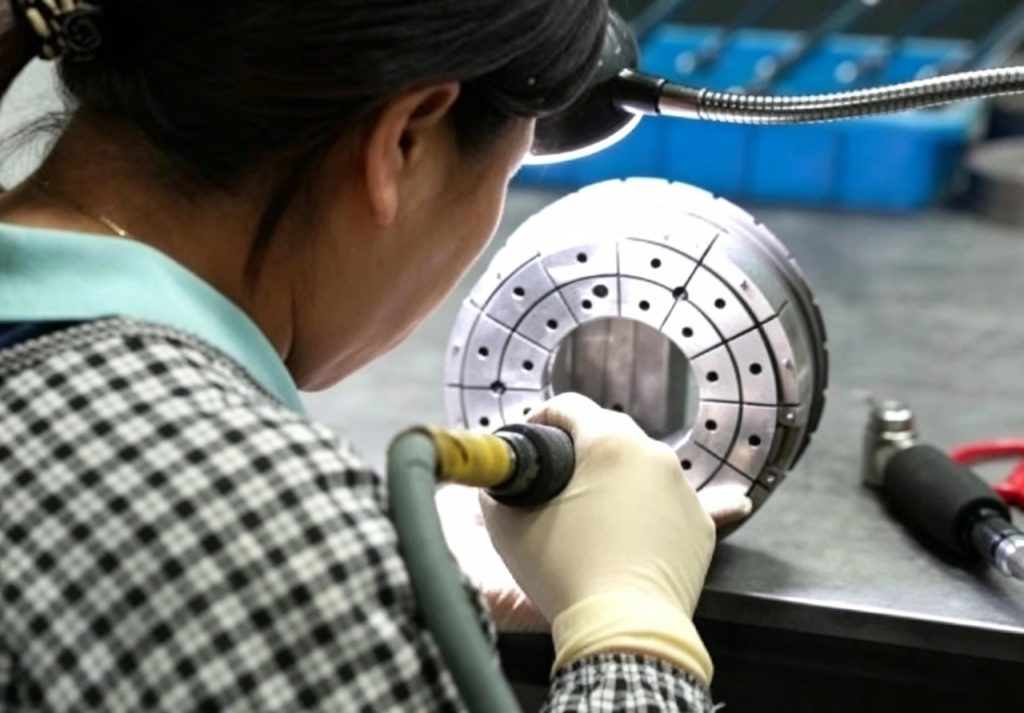
Perform treatments such as chrome plating, nickel plating, and polishing as required. Chrome plating enhances wear resistance and demolding properties; nickel plating improves corrosion resistance; and polishing improves the appearance of the finished product, with a surface roughness as low as Ra 0.05 μm after mirror polishing.Fine surface treatment is one critical step within complete injection mold development workflow.
V. Mold Assembly Process
(1) Cleaning and Preparing Parts
Clean the machined parts to remove oil and metal shavings, ensuring smooth assembly.
(2) Overall Mold Assembly
Follow the drawings to sequentially assemble the mold base, insert the cores and cavities, and install the slider and inclined ejector mechanisms, as well as the gate, cooling, and ejection systems. Control the clearance between guide pins and bushings (0.01–0.02 mm) to ensure that moving parts operate without interference.
(3) Mold Debugging and Optimization
First, perform no-load testing of mold opening/closing and ejection actions, followed by trial injection molding. Adjust the mold based on the sample part’s dimensions and appearance (e.g., trimming mold surfaces, modifying gate dimensions), and repeat the debugging process until the sample meets specifications (1–2 times for simple molds; 3–5 times for complex molds).
VI. Mold Acceptance Process
(1) Detailed Visual Inspection
Inspect the mold surface for scratches and rust, and verify that markings are clear to ensure good appearance (surface scratch depth ≤ 0.2 mm, length ≤ 10 mm).
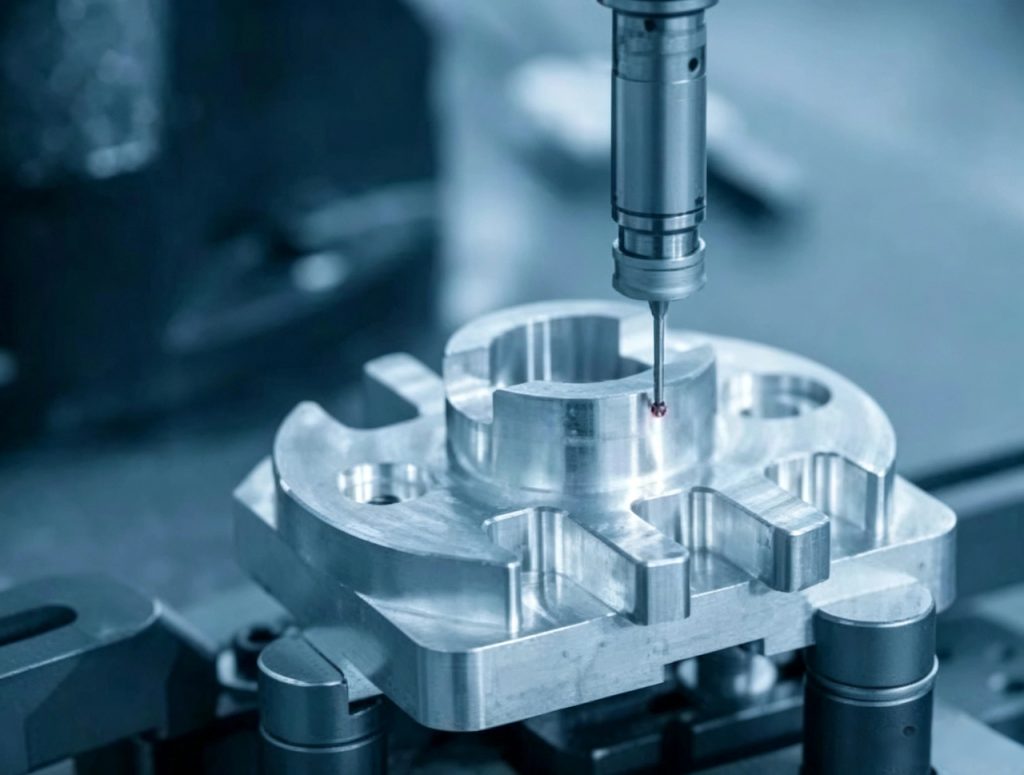
(2) Precise Dimensional Measurement
Use measuring instruments to measure key dimensions such as the cavity and core to ensure deviations fall within tolerance (cavity ±0.03 mm).
(3) Comprehensive Functional Testing
Test the mold opening and closing, ejection, cooling, and pouring functions, as well as demolding performance, to ensure stable operation and smooth demolding of the products.
VII. Packaging and Transportation
(1) Protective Packaging of Molds
Molds that pass inspection shall be packed in wooden or metal crates with cushioning material (thickness ≥ 50 mm) to secure moving parts and prevent damage during transportation.
(2) Transportation Arrangements
Collaborate with professional freight forwarders to clarify responsibilities and insurance coverage. Monitor the shipment status throughout the entire process and insure the shipment at 110%–120% of the mold’s value to ensure safe delivery.
VIII. After-Sales Support
(1) On-Site Installation and Commissioning
We dispatch technical personnel to the customer’s site to assist with the installation and commissioning of the mold, ensuring normal production.
(2) Operator Training
We provide training for the customer’s operators on mold installation, disassembly, maintenance, and troubleshooting, lasting 1–2 days.
(3) Repair and Maintenance Services